Using Zapier to Connect CallProof with MailChimp
CallProof can now connect with 300+ apps using Zapier.com. Zapier provides connectivity between all kinds of apps to help integrate additional products and services easily. Once setup, Zapier can help move data between apps and automate additional tasks.
This document shows how to connect CallProof to MailChimp. Zapier provides a simple interface that is going to look similar when dealing with any of their connected apps. We will use it to monitor a Contact Type in CallProof and add any new entries to our MailChimp list.
Getting Started
To get started, first log into CallProof and create API keys for your account.
Please see creating API keys documentation here.
Once API keys are created, log into Zapier. Once inside Zapier, we can begin to build our automated process.
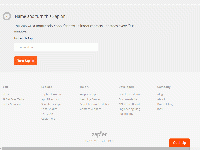
Start by logging into Zapier.com.
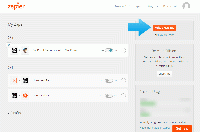
Once logged in, select Make New Zap
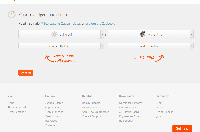
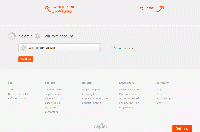
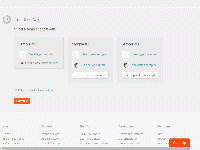
To begin creating this new Zap, select CallProof as the app on the left, and MailChimp as the app on the right.
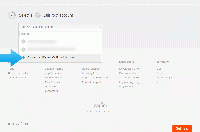
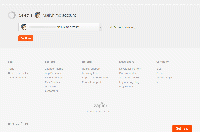
Next, Zapier will ask you to select your CallProof account. Select the option to make a new one or connect a different CallProof Account.
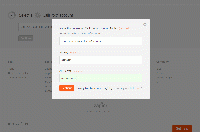
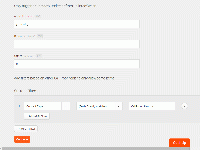
Once you select to add a new CallProof account, Zapier will prompt you for API keys. These are keys you made when beginning this process. These keys allow Zapier to talk to your CallProof account.
Once you enter this, Zapier will test to make sure the API keys are working. If successful, the words Account is working. will appear to the right of the account.
Next, Zapier will ask you for your MailChimp credentials. This is similar to the step immediately above. After you save, Zapier will try to connect and provide the same Account is working. message if successful.
The next part of Zapier is asking what filters you want to apply to CallProof data. In this example, we are looking at a specific Contact Type inside CallProof. Using the filters at the bottom, we select Contact Type. Then, we selected that this must match the provided text exactly. For the value, we typed in 'CallProof Signups' since that matches the Contact Type in CallProof that we want to monitor. Also required is the start date for your data pulls. Since this is ongoing, I always start with yesterday.
To recap this section, I put a filter to only pull data with Contact Type of CallProof Signups and I always start looking from yesterday. So, every 15 minutes, Zapier will pull this data and insert anything new it finds.
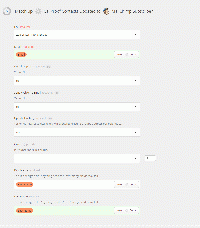
The next part of the Zap is asking what data to insert into Mailchimp and what list to put them. We currently have a Zapier CallProof Signups list already created in MailChimp. I select this list and the destination for this data pull. For Email, First Name, and Last Name, select to import fields. This will allow you to pick CallProof fields and push that data into MailChimp. So, all 3 of those are imported fields from our CallProof data pull.
Once that is accomplished, Zapier will do a data pull and show 3 records for Samples. If the data record pulled doesn't match the filters, you will not see the Test Zap With This Sample button in the sample box. If the record does match the filters and is good, you can see the data set pulled from CallProof, the data set being sent to MailChimp, and a button to actually do the action (Test Zap with this sample).
If you test and it works (check in MailChimp to make sure it was inserted into your list), then click Continue. This tells Zapier all is good and you want to keep this Zap.
The last step in Zapier is to name the Zap. This process will run every 15 minutes and monitor your data. Anything matching your filter will be pulled and inserted into the MailChimp account and list you provided.
